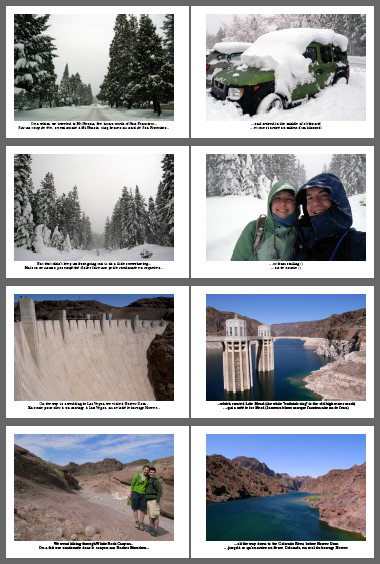
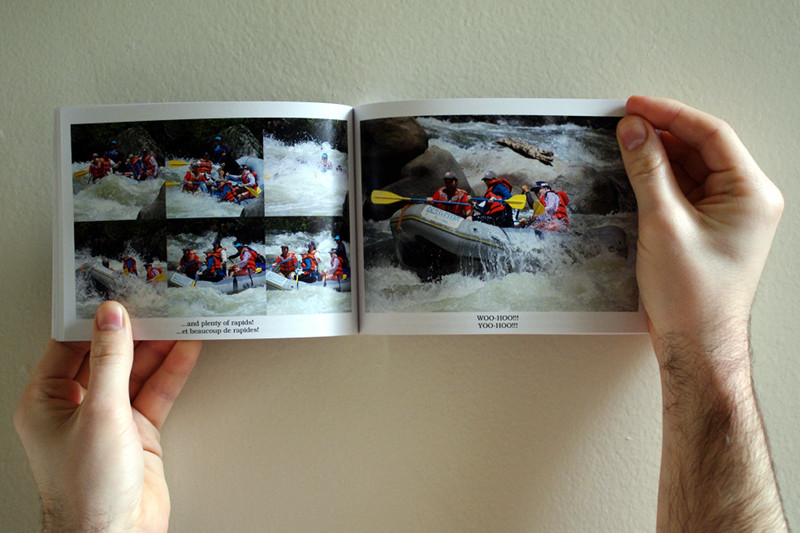
It’s a whole ‘nother thing to rewrite the program that builds the book to increase the margins and add a gutter, to go through a year’s worth of photos (over 6,000) and narrow them down to about 100, to crop and resize each and every one, to lay out the book so that the pictures on the left relate to the pictures on the right, to add 80 captions in English that are descriptive, yet flow, and then do the same thing over again in French, to summon any remaining creativity to come up with a cover that uniquely identifies the year, and to get this all done in time to get the book printed, shipped, and mailed out to family here and in France in time for Christmas. Well, almost in time.
It might sound like I’m complaining, but really I love it. I love the challenge of a project that absorbs me for more than a few days. That involves building a tool and then using it. That is both analytical and visual.
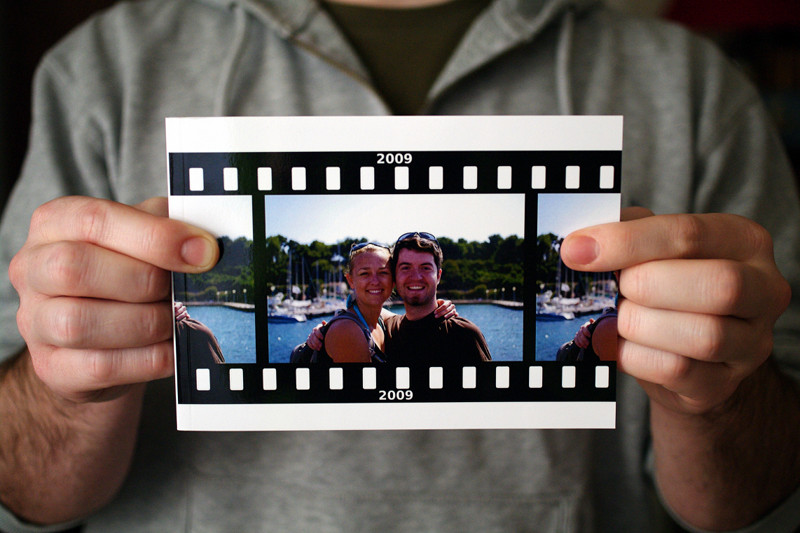
We started putting these together in 2007 because coincidentally, that year was the first time I traveled to France with Stephanie (not to mention the first time she’d been back in almost 3 years), and it was also the year we went to Buffalo to celebrate my Grandfather’s 90th birthday. We don’t see our family as often as we’d like, specifically our grandparents, so we envisioned this as a way to share ourselves with them that did not require a computer or the internet.
Between then and now however, the inevitable happened. In 2008 one of Stephanie’s Grandmothers passed away, and just this year, I lost my Grandfather. We’re getting our photo books back. I hadn’t really quite anticipated that part. At least not so soon. Both Stephanie and I now have a single surviving grandparent, our maternal Grandmothers.
Between then and now, another change happened. In 2007, our siblings were just our younger siblings, and we didn’t really think a book of photos of us would really mean all that much to them. But now Stephanie’s niece is two and a half, my brother is married, and just like with our Grandparents, we don’t see them as often as we’d like. So the photo book becomes a little piece of ourselves we can leave behind. Something they can easily pull off the shelf when someone we’ve never met asks about us and say, “Yep, that’s my crazy brother” or “Eh oui, ça c’est ma sœur”. At least that’s my fantasy.
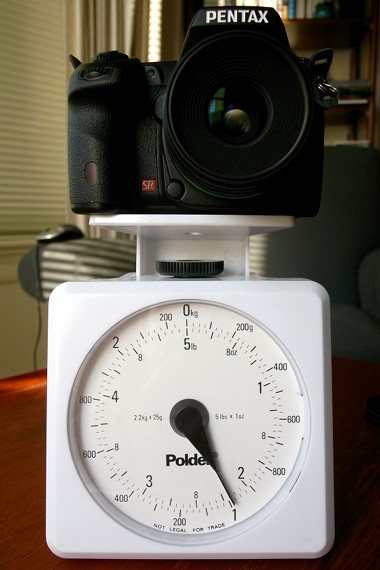
The primary reason that I held off on purchasing a DSLR for so long was the weight. So I was curious. With the battery and the DA 35mm lens, how much does this hunk of camera weigh?
Two pounds and 3 ounces! Just shy of one kilogram. By comparison, my Ricoh GR Digital II is a svelte 7 ounces (200g). Suffice it to say, I’ve begun to explore the the world of camera straps.
Already I’ve learned a few things. I don’t like having the strap around my neck with two pounds of camera bouncing against my chest. Slinging it across my right side so the lens is slightly in front looks a lot better and locks the camera in place. The problem is that the strap that came with the body has nonslip velvet on the inside, making it difficult to slide the camera up to take a picture without taking my whole shirt with it.
Given how much I like my little Timbuk2 bag, I’m thinking that their replacement 2 inch shoulder strap might be the perfect across-the-body strap. All I’d need are some larger keyrings to accommodate the chunky carabiner-style clips on the end of the strap. What I like about having the carabiner attachment points is that I can easily remove the neck strap altogether for more active shooting.
That said I’d still like to have some kind of wrist anchor, mostly insurance in case of accidental droppage. On a whim I picked up a wrist grip strap, thinking that it would be perfect solution. But after some practice I discovered that it just gets in the way of how I naturally hold the camera to support its weight. Something in the style of this adjustable wrist strap is probably my favorite—I’d just want one that I’d be reasonably sure could withstand the force of 2 pounds accidentally falling out of my hands.
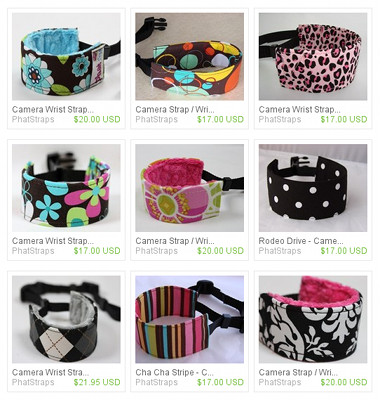
Update, Sep 4, 2009: Ok, these are a little girlie, but I have to say, PhatStraps are the best looking camera wrist straps for a DSLR that I’ve seen so far. Bonus: handmade, available on Etsy.
Essentially there are two ways to make a time-lapse video, regardless of the tool. I chose FFmpeg because it was easy to use, and available on Ubuntu.
From Video
With the first, you take an existing video, recorded at 25 (or 30) frames per second, and strip out all the frames except for one every second. This gives you an effective speedup of 25x. For example, by extracting one frame per second from a 60 minute video, you can drop the length to a much more watchable, entertaining, and web-friendly 2.4 minutes (not to mention a smaller, easier to download file size).
Here’s a bash script (timelapsify.sh) that uses FFmpeg to convert a normal video into a time-lapse video. It takes an input video filename and an output video filename as command line arguments:
The other way is to set up your camera so that it takes a photo every 1 or 2 seconds. Many of the popular Canon Powershot cameras can be customized with a non-destructive, non-permanent firmware enhancement called CHDK which you can use to run a custom intervalometer (like this one). Or your camera may offer this functionality natively.
Keep in mind that 2 minutes of video represents 3000 distinct photos at 25 frames/second. Your battery or your memory card may run out before you get that far, so if possible, plug your camera in and set it to its lowest resolution setting.
One FFmpeg-specific caveat: in order to assemble photos into a video, you need to name them sequentially, starting from 1. So I wrote a simple little command line PHP script to rename the series of image filenames that my camera produced (IMG_3550.JPG, IMG_3551.JPG, IMG_3552.JPG) into something a little more FFmpeg-friendly (frame_1.jpg, frame_2.jpg, frame_3.jpg):
And here’s the FFmpeg command to assemble all those renamed “frame” jpgs into an actual mp4, H.264-encoded video (very much like timelapsify.sh above):