These are actually the steps I go through before posting a photo to my blog. I’m always curious how other people edit their photos, so I hope you find this enjoyable and/or informative.
Rotate the image, if necessary. Occasionally my horizons are off ±1.5° (small but noticeable).
Minimally crop out any undesirable peripheral elements, if necessary.
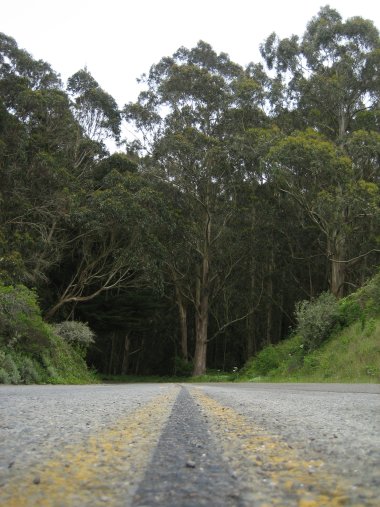
Resize to a minimum width (or height). On my blog most of the photos I publish are only 380 pixels wide. When you have a choice of resizing algorithms, choose cubic or bicubic.
Original photo, resized
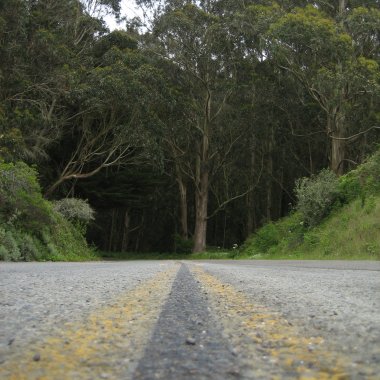
Choose an aspect ratio for the photo. The native aspect ratio of most cameras is 4:3. Lately I’ve been playing with square compositions (1:1), but I’m usually a fan of a golden ratio (~1.618:1) for a more panoramic feel. For a widescreen feel, go with 16:9.
The sky is all whited-out thanks to the fog, so I went with a square ratio to eliminate it
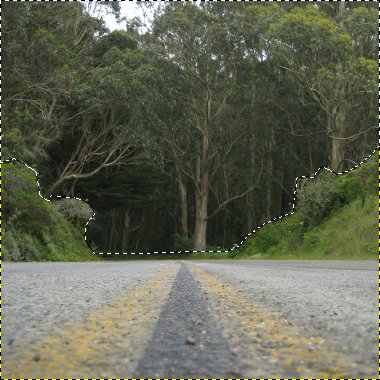
Balance the colors. If any parts of the photo are especially dark (foliage and landscape on a bright day) or light (pavement or sky on a bright day), I selectively choose the area I want to lighten or darken and adjust the color balance (without preserving luminosity).
Select the dark background area with a lasso tool and increase the RGB midtonesDecrease the RGB color levels to darken the pavement
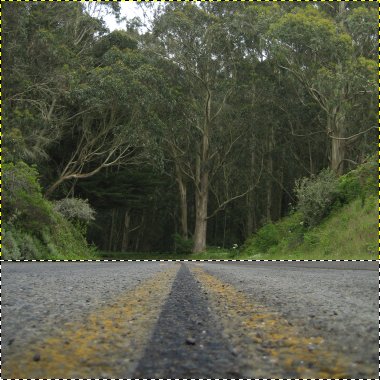
Adjust contrast. I like my photos contrasty, and I find most unedited digital images to be a little gray.
Adjust saturation. I like my photos saturated, especially if they have a variety of colors. Blue skies look bluer, greenery looks greener, yellows and reds look more vibrant.
The yellow paint on the road and the green grass are a little more vibrant
Apply unsharp mask. This is a fancy way to sharpen a photo, essentially increasing the contrast between color boundaries so they look more in focus to the human eye.
Even a slight unsharp mask brings out the texture of the road surface”
Voila, there you have it. The finished product. I did all of the above in The Gimp, a free and open source photo editing tool, similar to Photoshop, but available on Windows, Mac, and Linux. However, all that I’ve described above should be possible with Photoshop or Fireworks. I’m always learning (discovering) new tricks.
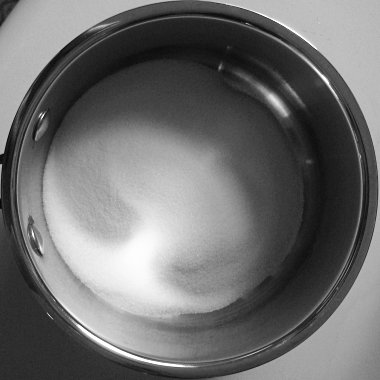
The photo shows a cup of sugar in a pot with a cup of water, taken for my post on making Meyer lemonade, but one I ended up not using.
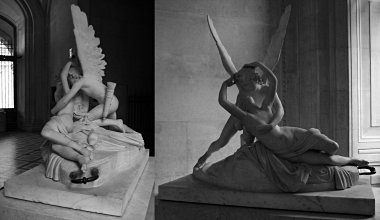
I didn’t realize it was my 10,000th photo right away because for some reason the unique photo ids wrapped at IMG_9900.jpg, with this one being IMG_0100.jpg. The wrap around moment itself occurred at the Louvre while I was taking pictures of Psyche Revived by Cupid’s Kiss.
The first photo taken with this camera? An unintentionally unattractive “Is this thing on?” self-portrait that I have no intention of republishing here.
Whoa, I just got lost in the world of panorama photo stitching tonight. In fact I had no idea until reading the comments to Andrew Emond’s Raider of the Lost Ark photo a month ago that software even existed to automate the process—let alone that photographers used it (isn’t that kind of cheating?) to create wide-angle compositions.
The app that Andrew used is called PTGui, where all you have to do is select a series of photos, and it analyzes them and constructs a panorama for you! No more painful hours trying to stitch together photos in Fireworks. The results are miraculous.
There is a downside though. PTGui is not free (or open source) software. In fact it’s actually a little pricey, a little over $90. If it had been like $30 or less, that would have been a no-brainer, and I probably wouldn’t have thought twice after seeing PTGui’s trial version in action. But $90 motivates a little more due diligence. At least in the form of a Google search.
And I turned up a whole wealth of information. The panorama tools wiki is a good starting place. Here’s some interesting history:
The Panorama Tools, also known as The PanoTools are a free suite of programs and libraries originally written by the german physics and mathematics professor Helmut Dersch. PanoTools provides a powerful framework for re-projecting and blending multiple source images into immersive panoramics of many types. Helmut started development on PanoTools in 1998, producing some of the most professional and versatile software available for building panoramas and more, but had to stop development in 2001 due to legal harrassment and claims of patent infringement by a company called IPIX.
I also discovered that PTGui used to be just a frontend for the open source Panorama Tools, but in later versions they replaced them with their own proprietary photostitching and blending software. On the open source front there’s Hugin, which operates very similarly to PTGui, with the exception of needing to download the separate autopano utility and only being able to output blended panoramas as tiff files. Nonetheless after a little bit of fiddling I was quite pleased with the results.
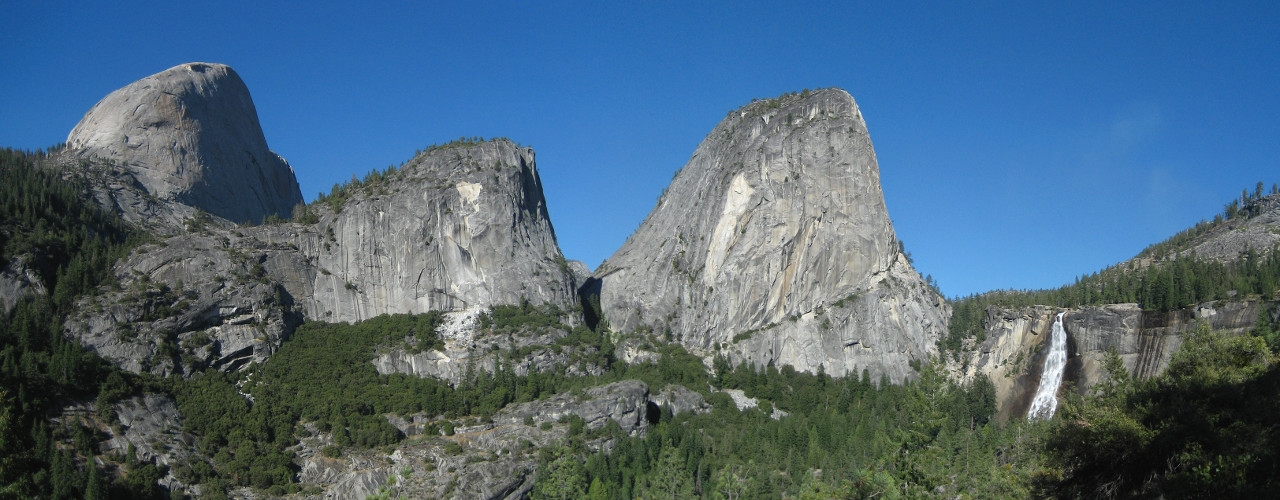
Here’s an arty panorama I created by hand from pictures taken at Yosemite:
Yosemite Panorama (created by hand)
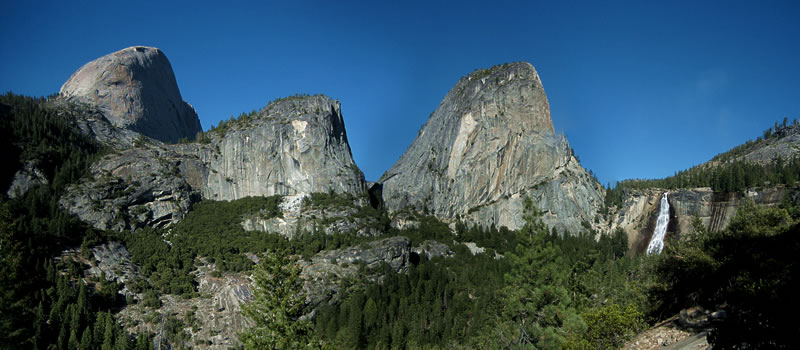
And here’s a version created with Hugin (the only post-processing I did with Fireworks was cropping, resizing, and color-correction):
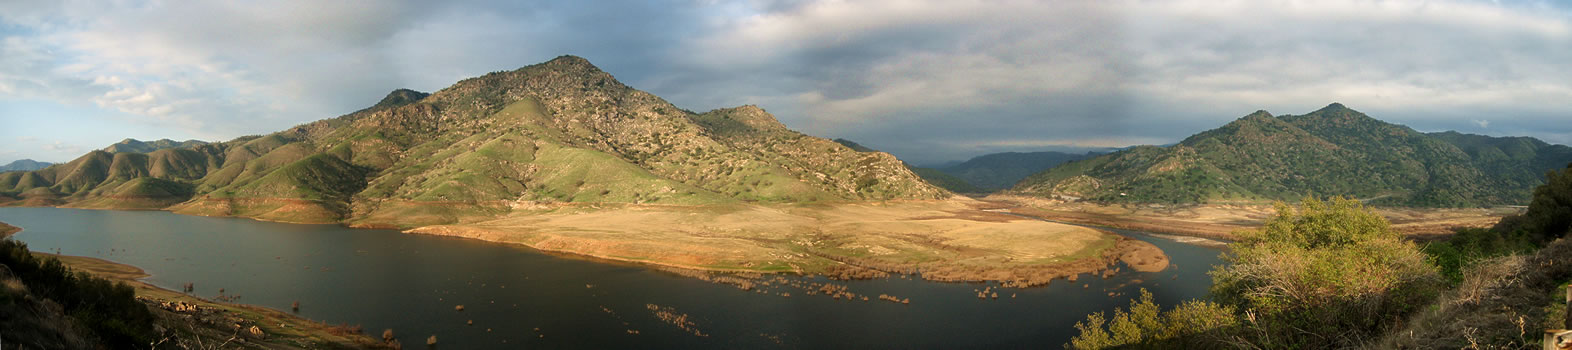
And finally, what got me started down this path were some photos I took of a very low Lake Kaweah just outside of Sequoia National Park. You can see the line along the hills where the water should be (or where it will be when the snow melts).
Lake Kaweak Panorama (also created by Hugin)
I still have to figure out how to improve the blending between images to minimize the dark band effect, but all in all, I’m pretty pleased with the results.
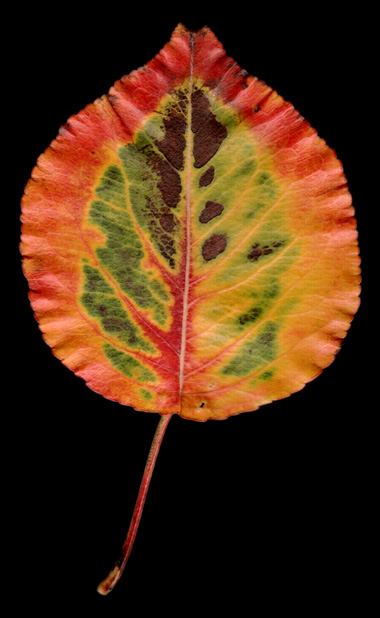
On the way to lunch today, I noticed that the trees in the parking lot are starting to change color. The leaves on the ground had these incredible patterns, a thick band of red around the edges with cells of green and brown in the center, separated by thin veins of yellow. Each leaf was like a little work of art.
I thought back to a classmate who used to do fine art photography with a scanner. There’ve also been some posts on boingboing on the technique. On the way back from lunch I put a few leaves in my car to scan when I got home. Imagine my disappointment when I returned to a pile of brown, brittle leaves after a few hours in a warm car.
So there I was out in the parking lot picking leaves off the ground as people were heading to their cars. But I found some really nice ones—luckily they don’t seem to be in short supply.
As I recall, this classmate mentioned using a black, lightproof hood over her scanner to make the images, with flowers and other objects arranged on the scanner bed. I’ve got a tiny 4×6″ photo scanner, so I set a leaf down on the surface and held a black towel over the top while it scanned. And all I got was muddled grayness. Clearly this hobby is going to require some fancier equipment. Anyway, I pressed the top of the scanner down on the leaves and got much better images. Granted they have no depth of field, but given that I was scanning leaves, this wasn’t too much of a problem.
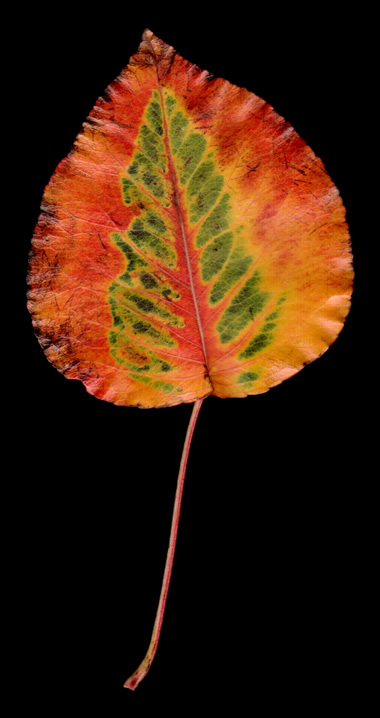
With only a little bit of editing, mostly to make the background uniformly black, I got what I think are two really interesting scans. Here’s my favorite, because of the dark brown cells inside the green.
And this one I liked because of the long stem and the almost symmetrical green cells.
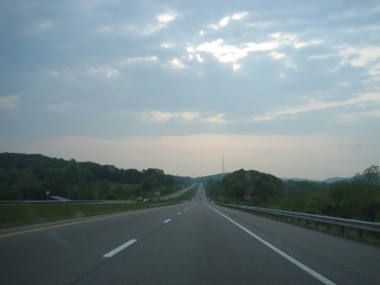
In the spirit of windowseat photography, I bring you the much more dangerous, driver’s seat photography.
I left Carrboro, NC and started driving towards Santa Rosa, California during nine days in May 2005. Though I had several intermediate destinations in mind (Grand Canyon, Zion), the journey itself was really the destination. As such I treated it like any tourist/explorer would. I took lots of pictures (through my windshield).