How to manage a self-hosted WordPress blog from Windows
…or how I manage my self-hosted WordPress blog.
Get webspace
- I use and recommend Dreamhost
- create a user account with ssh/sftp access
- associate a name with your webspace, e.g. somesubdomain.dreamhosters.com for free or somedomain.com if it’s available (at Dreamhost, one domain name registration is included in your account)
Install WordPress in your webspace
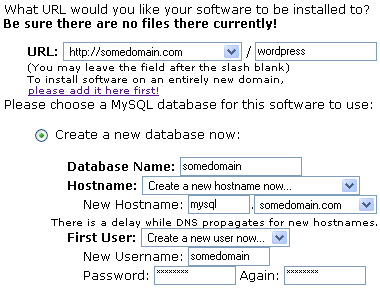
- use Dreamhost’s one-click install process (under Goodies > One-Click Installs) to install WordPress in a subdirectory called wordpress (takes care of the tedious database creation and configuration)

(otherwise, follow these instructions to install WordPress manually) - visit http://somedomain.com/wordpress/ and run through WordPress’s simple web-based install process
- login with the admin user and change password under Users
- create a new user for yourself under Authors & Users
- give your new user administrator privileges
- choose a theme
- follow these instructions for making the homepage of your blog show up at http://somedomain.com/ instead of http://somedomain.com/wordpress/
Install the Firefox web browser on your computer (if you don’t have it already)
- install the excellent web developer toolbar extension for Firefox
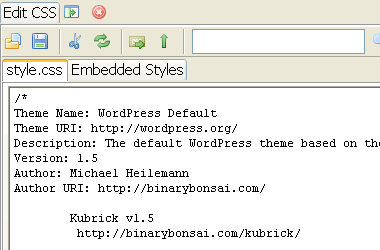
- play with its edit css feature (live, temporary CSS editing)

Install the EditPlus text editor on your computer
I like it so much I actually use EditPlus on Ubuntu under Wine

Install the WinSCP file transfer client on your computer
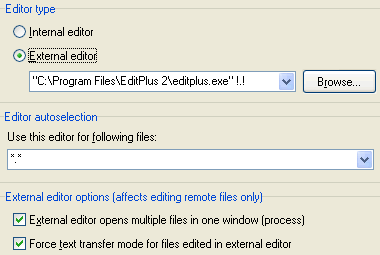
- configure EditPlus as external editor in place of NotePad

- configure sending null packets to keep connection alive (see link in previous step)
- save webspace login credentials (server, username)
Login to your webspace with WinSCP
- in the right pane, navigate to your webspace document root, then goto wordpress/wp-content (themes and plugins live under their respective directories here)
- installing a new theme or plugin is often as simple as downloading the theme or plugin to your local computer, unzipping the file, uploading the files to either the themes or plugins directory, and then activating it in the WordPress admin
- under themes, find the subdirectory that houses your theme
- right-click on style.css (or any file you want to edit) in the right pane and select edit (more information on how themes work can be found here)
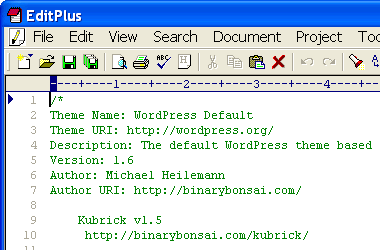
- style.css should open in EditPlus
- any changes you make to the file in EditPlus will be automatically uploaded
The latest release of Firebug is almost as invaluable as the Web Developer toolbar. To visually see how your CSS rules are being inherited is priceless – also allows for realtime CSS / HTML editing.
The IE web developer toolbar is also nice to have when IE’s eccentric render engine decides to get creative with your site layout.
Useful stuff. Thanks for sharing… Keep writing more.
Thanks..