I held off as long as I could, but the wide angle lens for my new camera really necessitated it.
I’m using it as a camera bag, because the “built-for” camera bags seemed a little too utilitarian/SLR-oriented/compartmentalized for my tastes. Plus I wanted something that was more city-fashionable, something that didn’t scream “I’ve got heavy and expensive camera gear in here!” Thus, man purse.
It’s a Timbuk2 Metro “mini messenger” bag that I picked up at Sports Basement on a whim a few weeks ago. And so far it’s pretty sweet, after I made one modification: removal of the velcro for easier access.
I’m really surprised that there isn’t enough of a niche market to continue producing the film on a small scale for artists and hobbyists alike. I’m glad to hear they’re at least open to licensing or selling the technology to make the film.
It’s a little funny that the Washington Post article lays the blame on Flickr, though.
The artsy, instantly gratifying Polaroid images, reeking of processing chemicals, have finally been done in by endless Flickr Web pages full of digital images, flawlessly produced by cameras that do not require film, emulsion or anything bigger than a shirt pocket to carry them around.
If I were Flickr, and if my pockets were deep, and I wasn’t tied up in this whole recent Yahoo hullabaloo, I’d think seriously about purchasing the technology behind Polaroid’s film. Just to endear myself to the photogs even further. And as a way to get my name/brand on something out there in meatspace.
Update, 2010-03-25: It seemed only appropriate that someone (or ones) would come to the rescue. Well played.
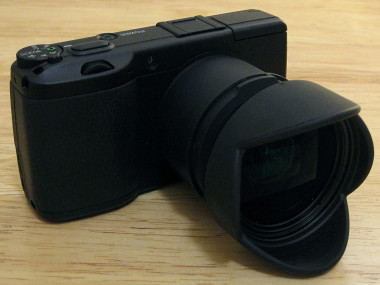
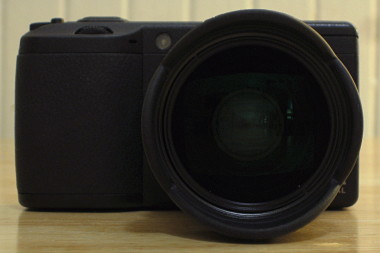
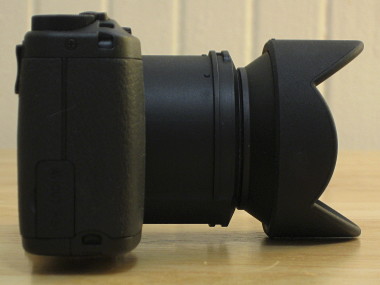
For Christmas this year, my parents got me the lens adapter/hood (GH-1) and the wide angle conversion lens (GW-1) for my new Ricoh GR Digital II. I feel totally spoiled. Here’s the obligatory closeups.
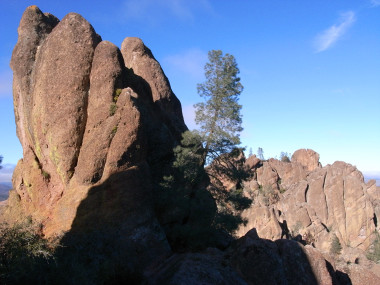
The GW-1 takes the natively wide 28mm GR lens down to an even wider 21mm equivalent field of view. And oh man, does it feel great in my hands. Here are two shots I took recently from roughly the same spot, one without the lens, and one with.
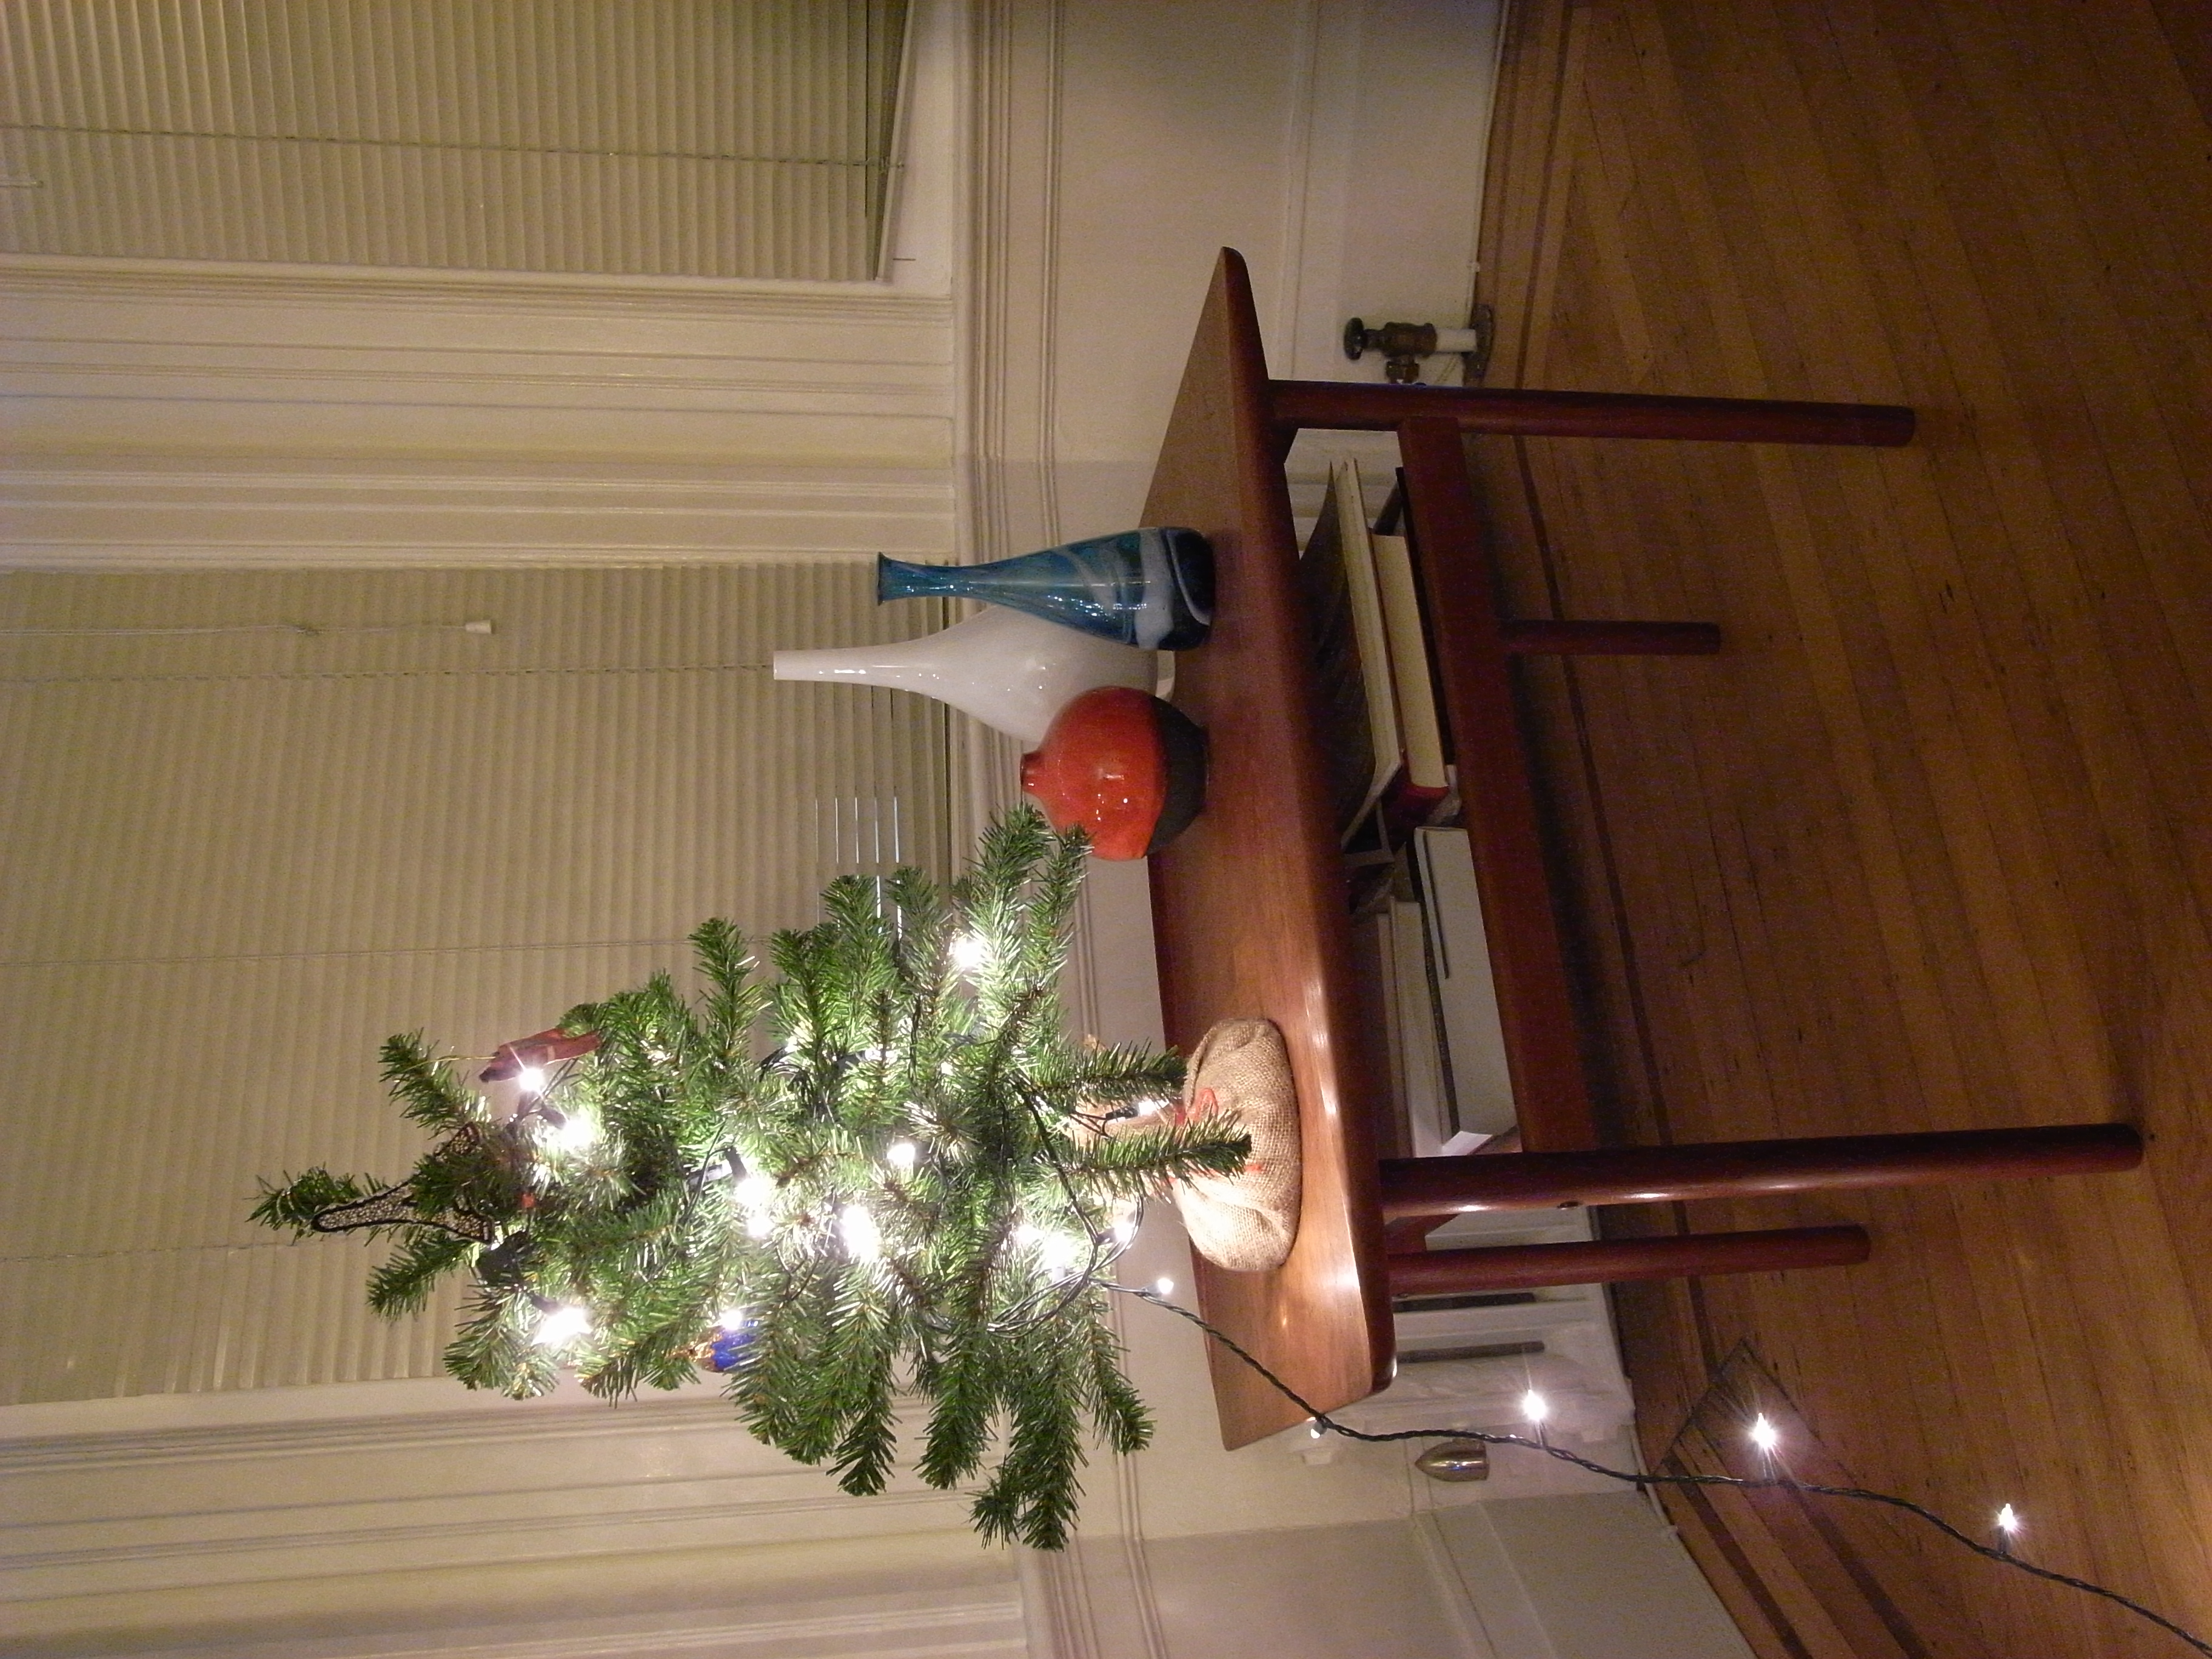
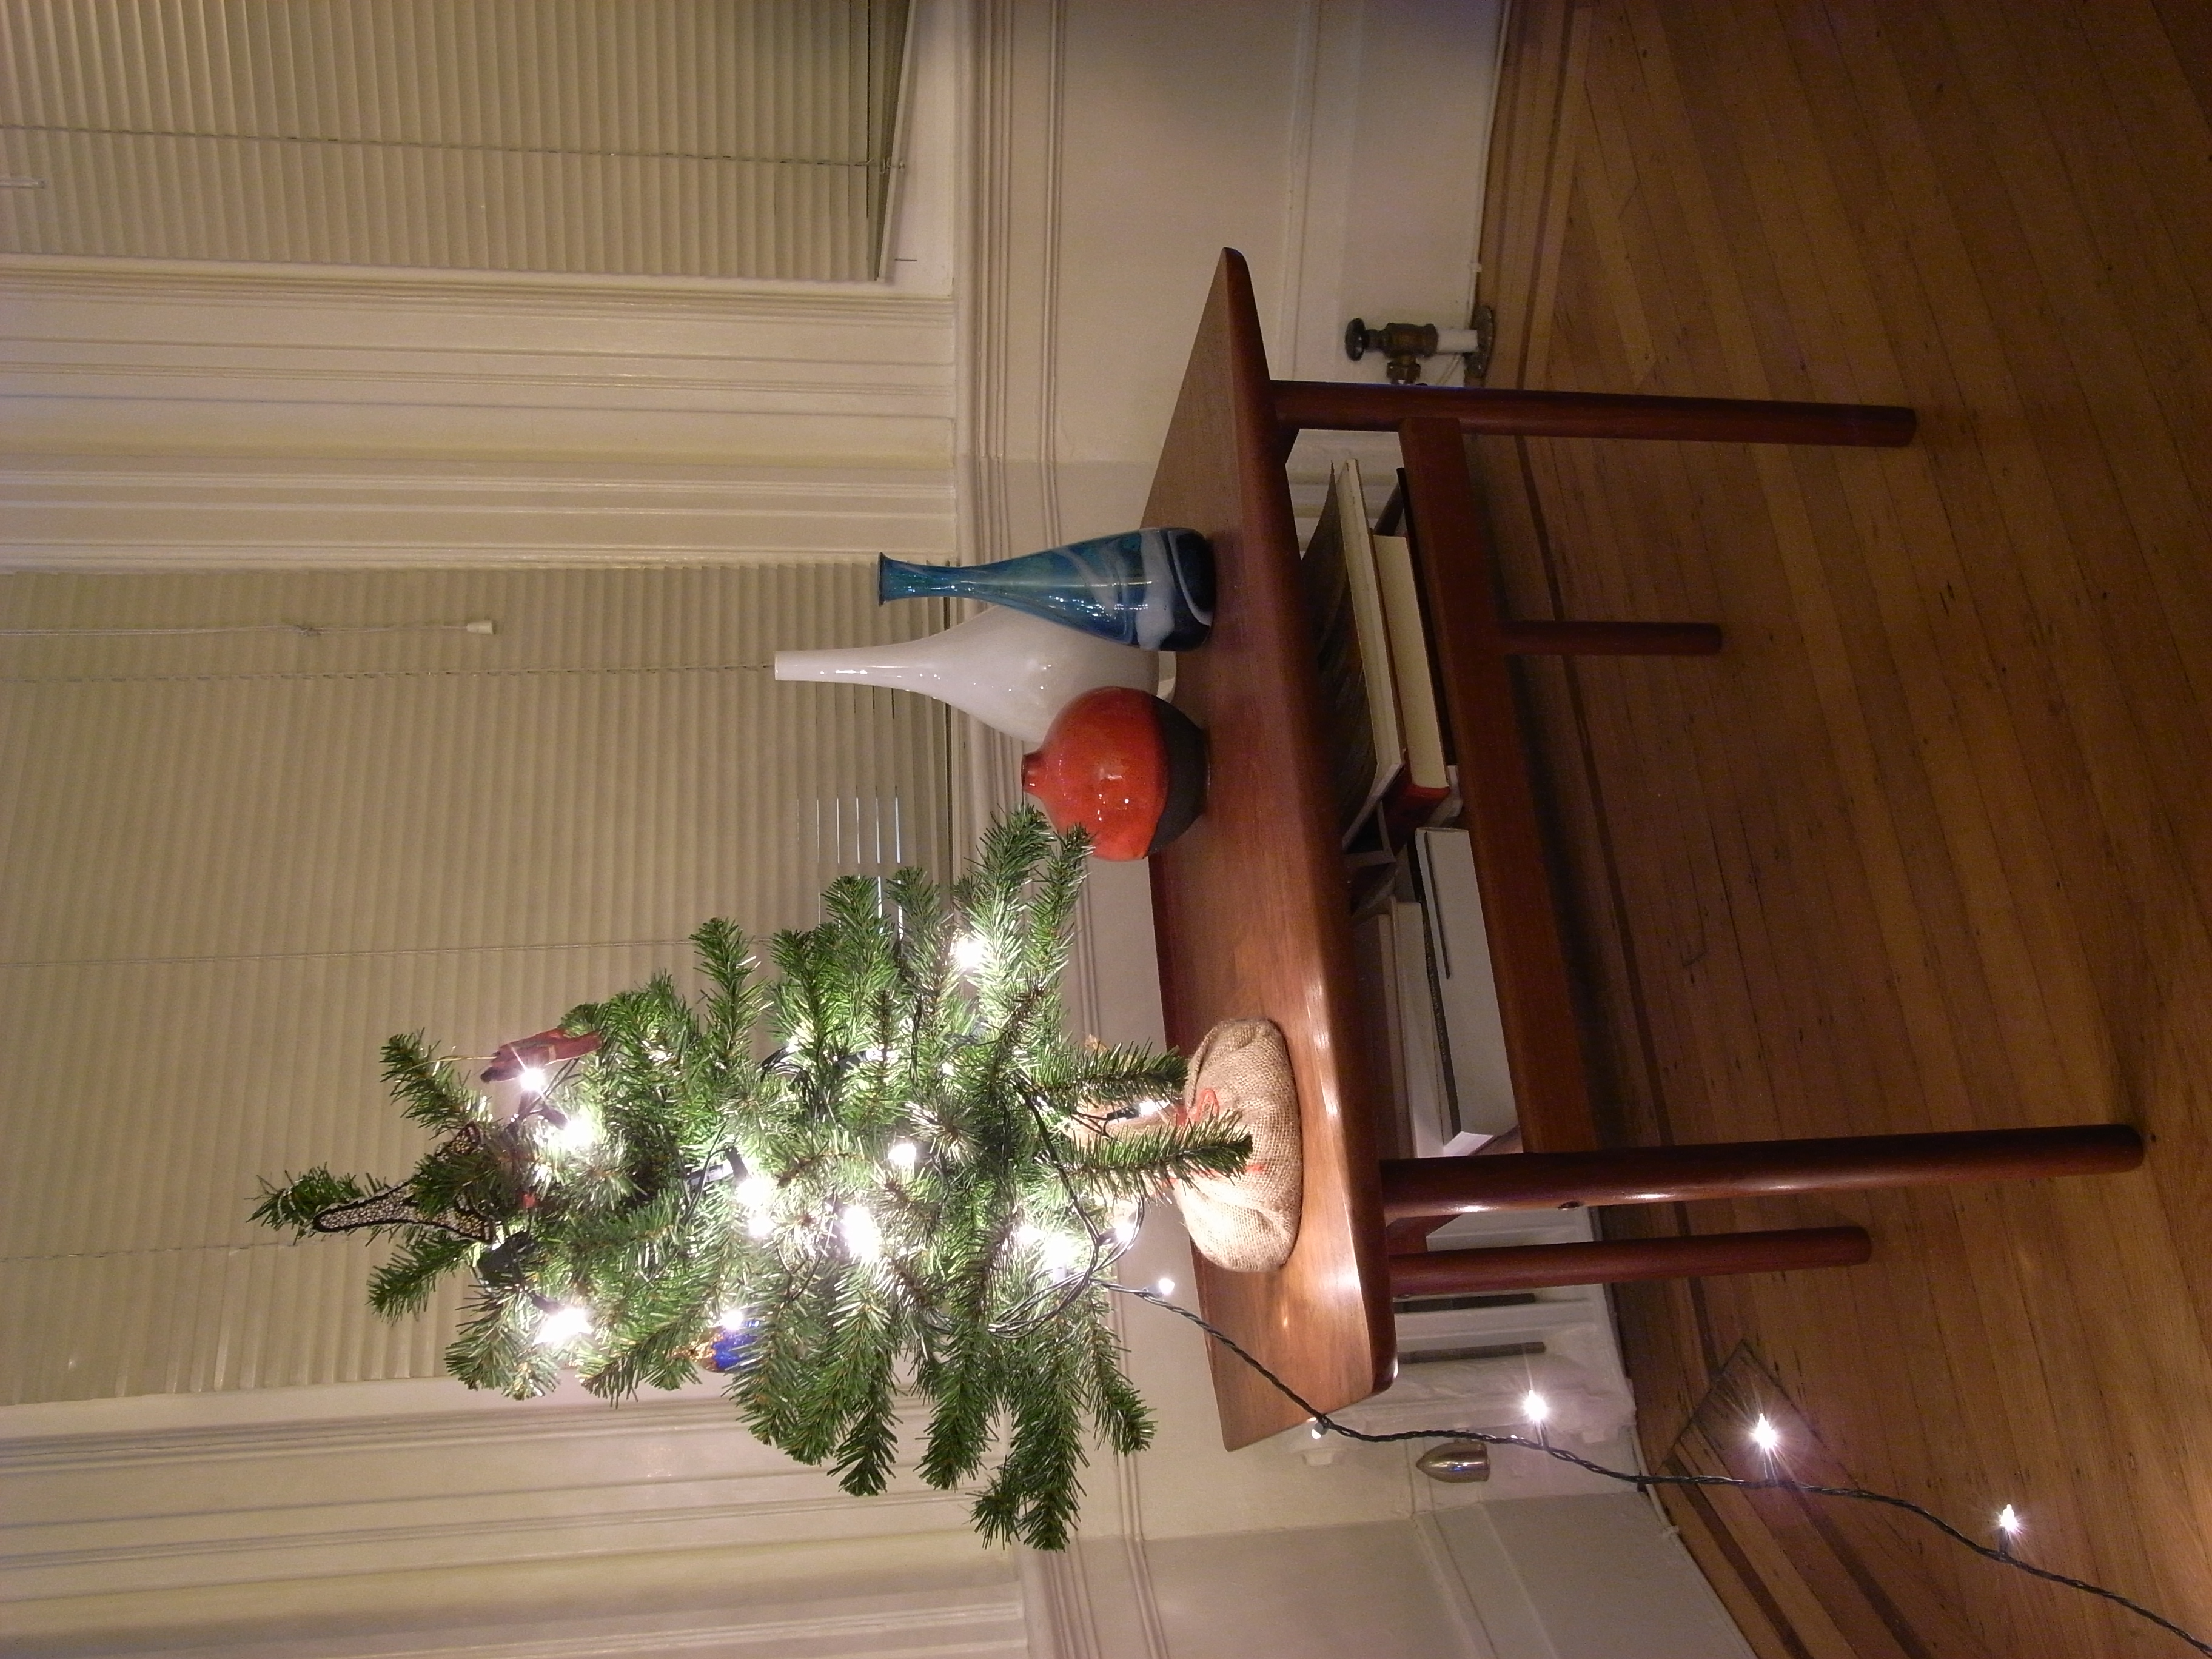
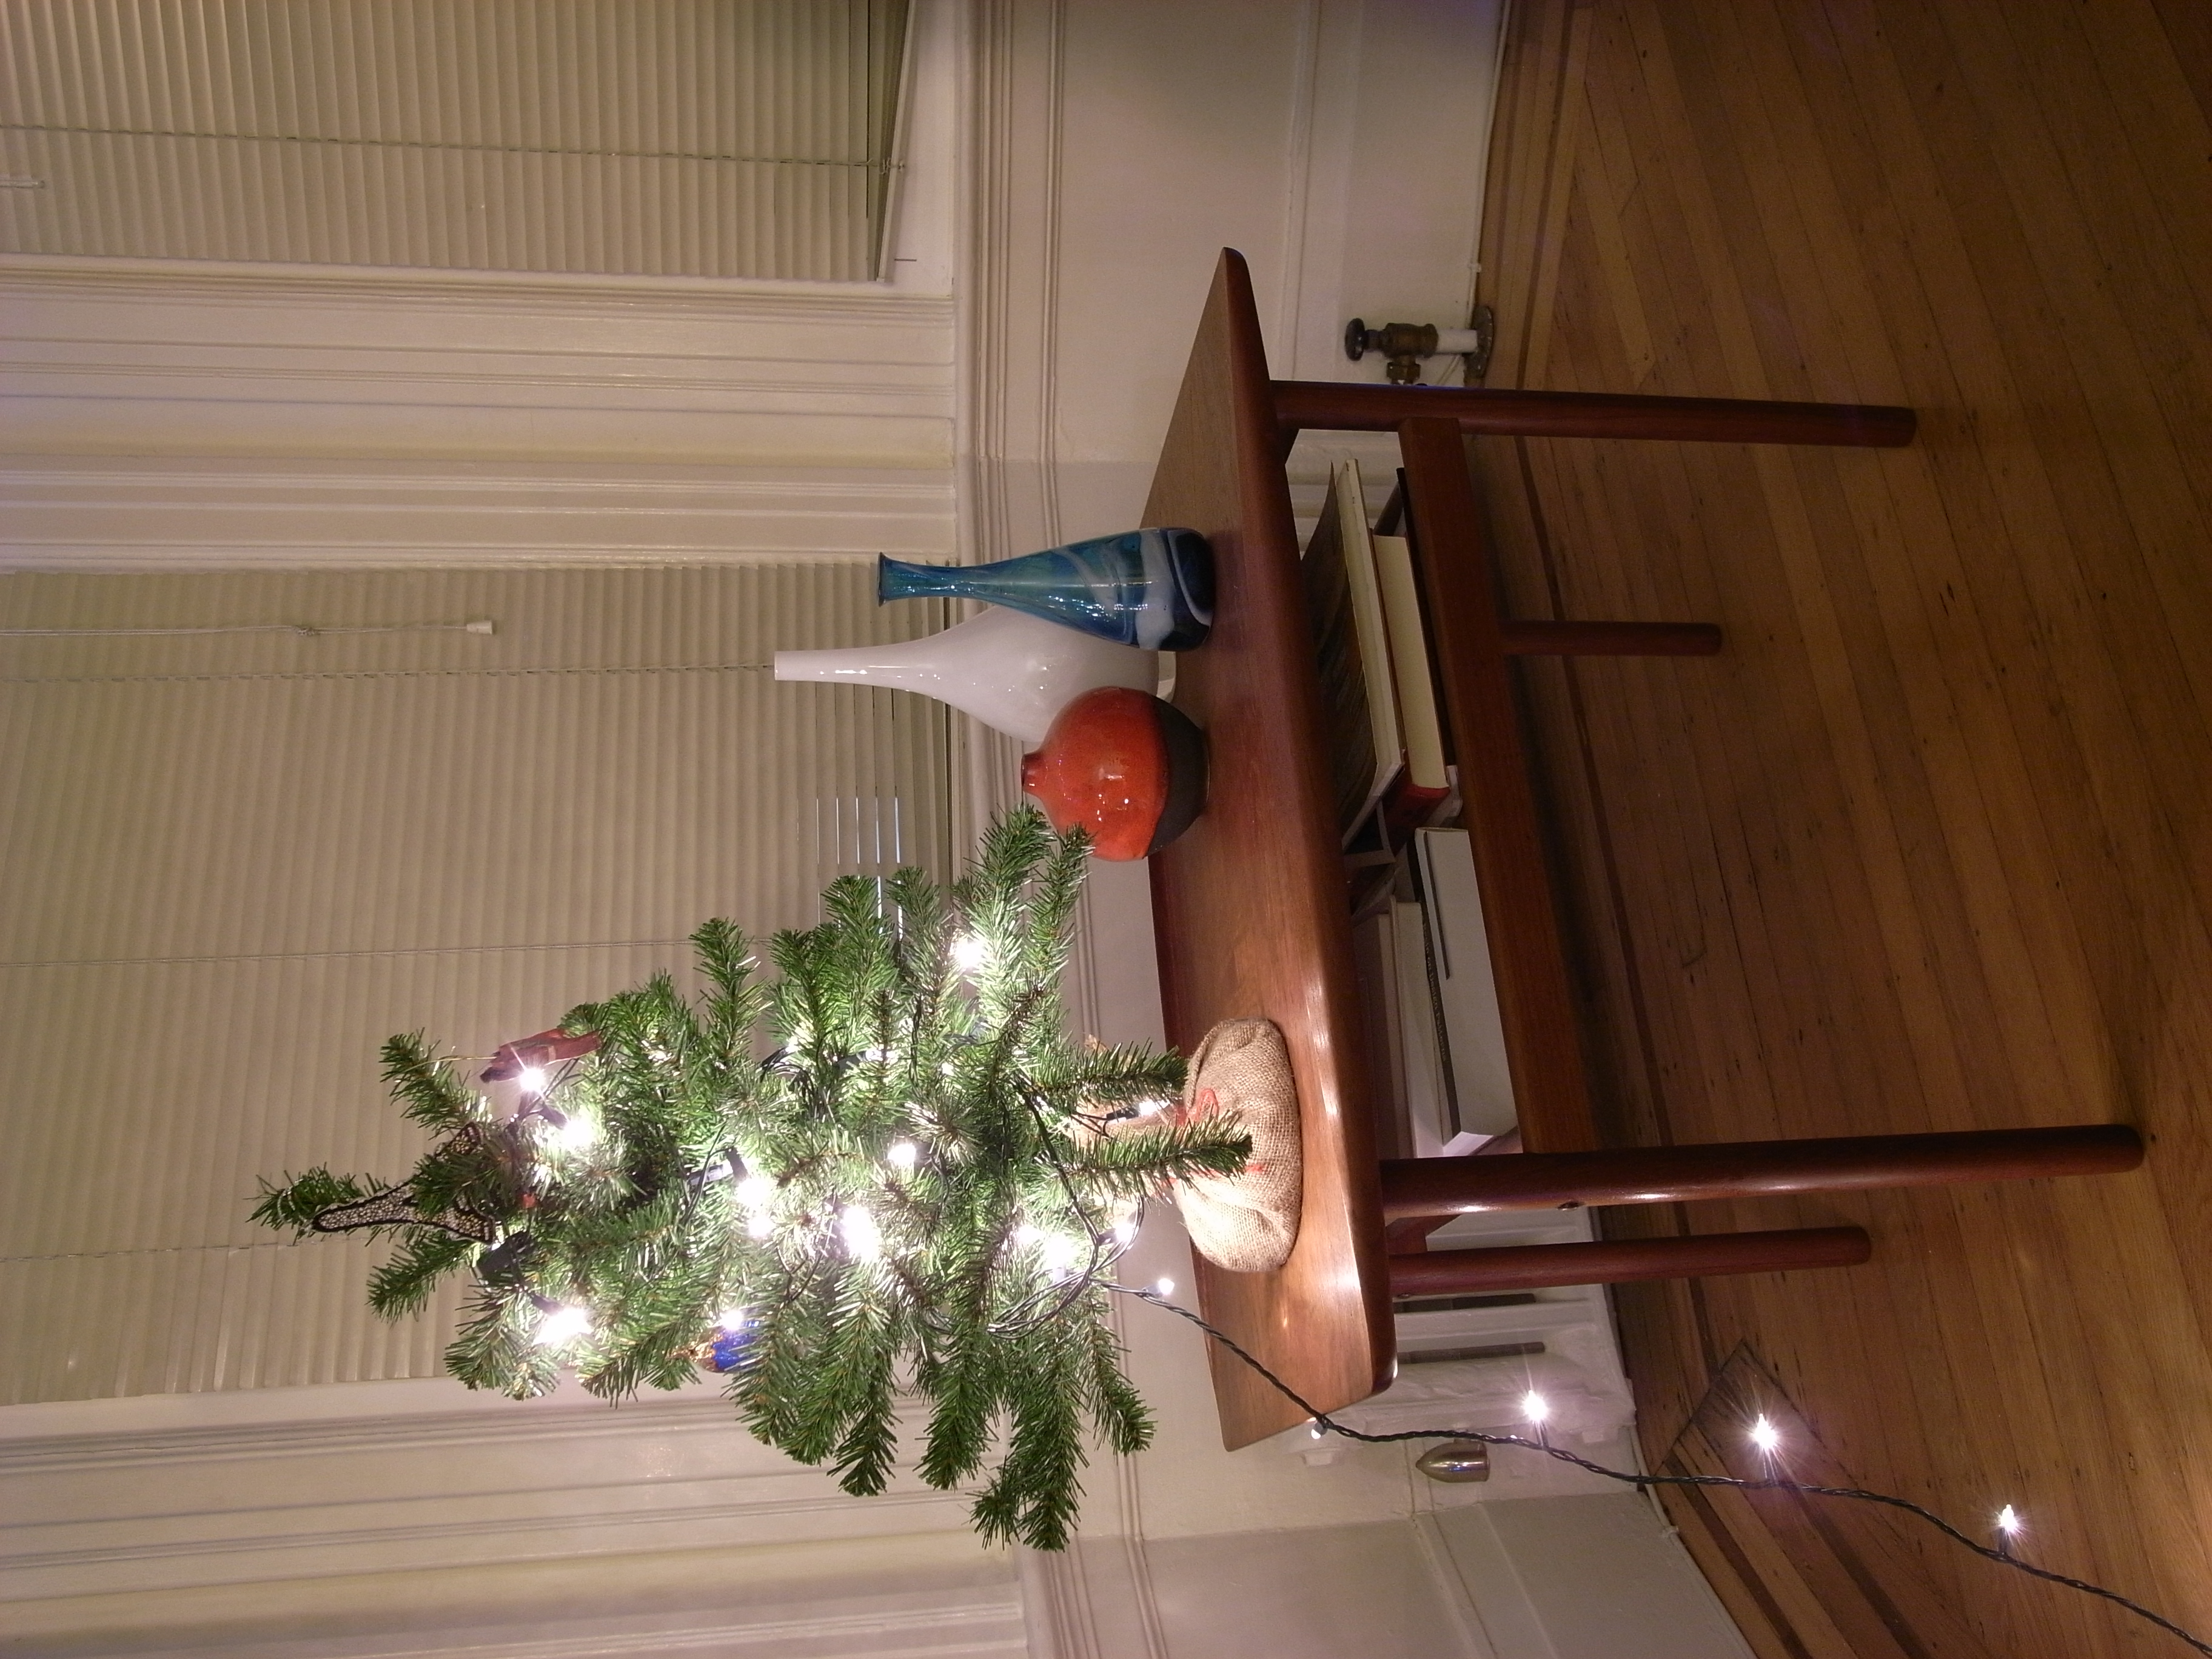
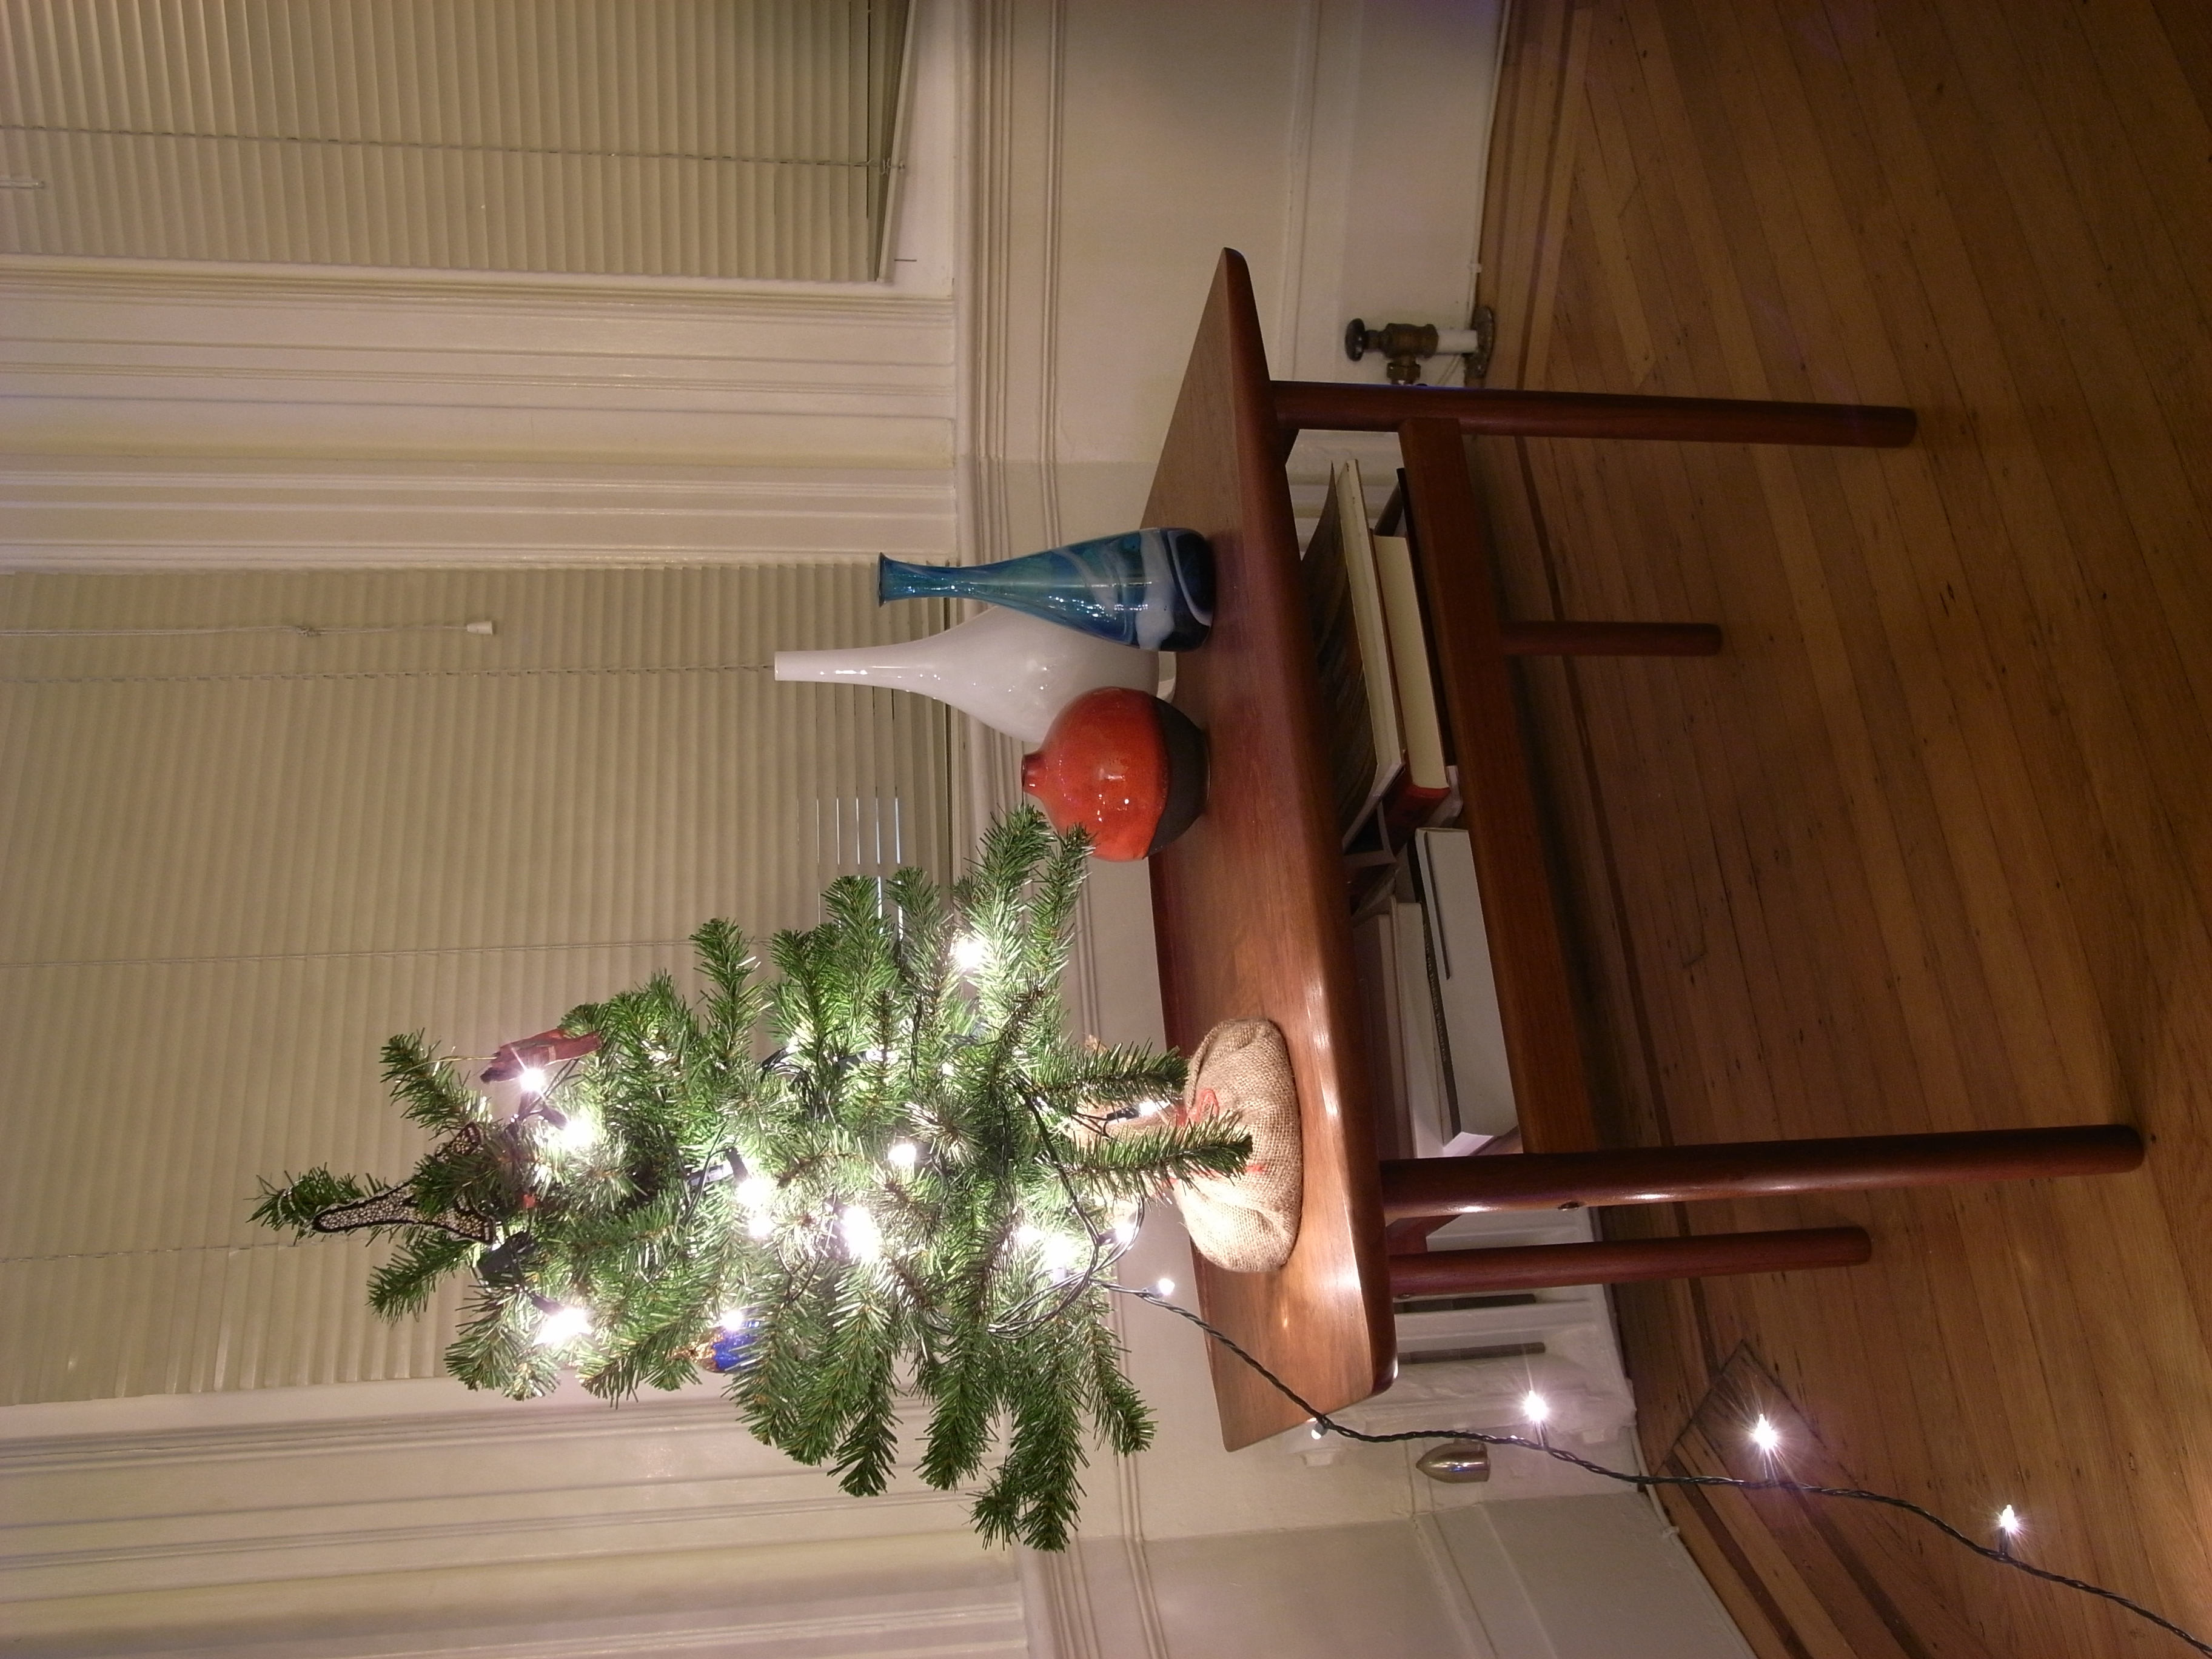
I’m not a pixel peeper, I swear!, but Daimon Xanthopoulos asked me about the performance of the GR Digital II at ISO 400, and I felt obliged to provide a sample. Of course I wouldn’t depend on shots at ISO 400 from a compact digicam, but that’s beside the point.
These were all taken tonight, on a tripod, indoors, lit by a combination of white and blue Christmas lights and nearby fluorescents. The camera was in automatic mode, white balance was set to auto. All I changed between shots was the ISO, from 400 down to 80. JPEG processing was done in-camera.
Note: the shadow on the right side of the original shots is not vignetting. There’s an armchair just out of view that was casting a shadow against the wall.
This past year, Stephanie and I were able to visit some relatives we hadn’t seen in a long time. Three years had passed since she’d visited her family in France, and it had been at least as long since I’d seen my grandfather in Buffalo. For some reason—maybe experiencing it together amplified things—we left feeling more aware of the distance than we had before.
Though we both like to think we’re pretty accessible via blog and email, we know the internet doesn’t make it all the way to our grandparents. So we wanted to create some sort of physical, visual artifact that would. Something to make the distance and time between visits seem less great. Given our photo-centric adventures, we started thinking about compiling a photo book.
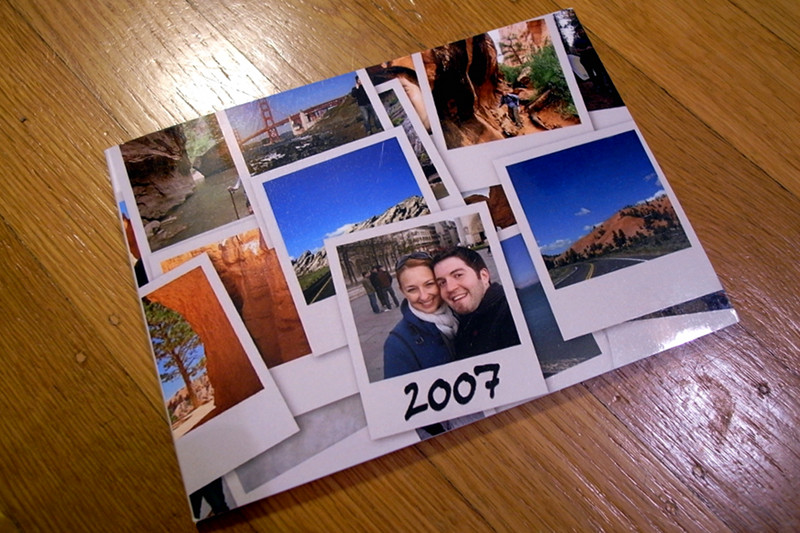
The final product
After Thanksgiving I started to go through all the photos I’d taken in 2007 (there were over 4,200!), looking specifically for pics with either or the both of us in them. By the time I got through them all, I’d collected over 80, many of which had never seen the light of day (we don’t usually highlight those cheek-to-cheek shots on our blogs).
Then I started surveying the photo printing sites that did photo books, like Kodak, Shutterfly, and Lulu. I’m not sure what exactly I was looking for, but when I stumbled upon Viovio, I knew I’d found something…unusual. At first I was a little put off by their wiki-centric website, but the more I explored their offerings (discovering things like linen hardcover binding) the more I liked what I saw.
They offered two primary ways to prepare a book for printing: upload a PDF (ostensibly created with some fancy Adobe software I didn’t have) or upload individual images into a gallery which they’d generate a PDF from. I wasn’t about to layout the book myself, so I started by uploading the 80 or so photos I’d set aside (which I was able to do as a single zip file).
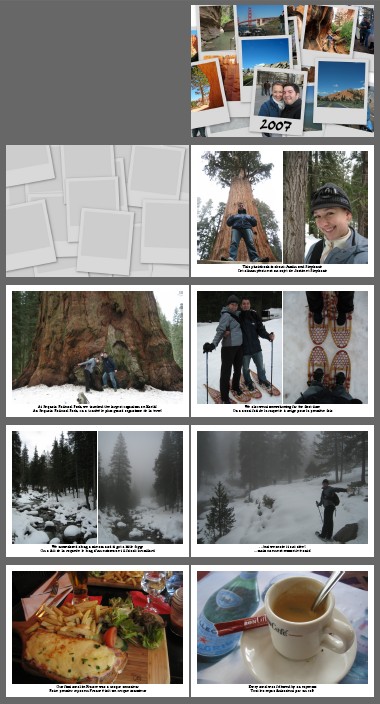
Their photo gallery to PDF creator was pretty neat, you could specify how many photos you wanted on each page and it would arrange and resize them to fit, with lots of fun options like full bleed pages and chapters. Or you could decide which photos you wanted on each page by manually numbering them yourself. This is the approach I took, leaving horizontal photos alone on a page, and putting two vertical photos side by side. You might remember a blog post where I surreptitiously wrote about this: A little weekend math.
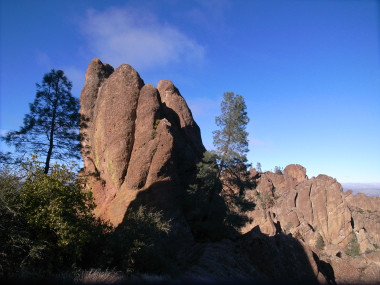
This was working well enough, so I started uploading additional pictures of some of the incredible sights we’d seen along the way. It went on like this for a few nights, I’d upload photos, rearrange them, confer with Stephanie, regenerate the PDF (which took a few minutes), and repeat. The hardest part was not setting up individual pages, but making sure certain related photos on two different pages appeared next to each other, one on the left and one on the right (e.g. the croque monsieur and the espresso at the bottom of the layout screenshot below).
I alerted them to the limitations of their PDF generator, which they confirmed, but had no timeline for fixing. Meanwhile I was running out of time. Their Christmas ordering deadline was fast approaching, and my expectations were rising. I had a vision in my head (and on graph paper) of what I wanted the book to look like, and the limitations of their generator (or my use of it) only further clarified what I wanted.
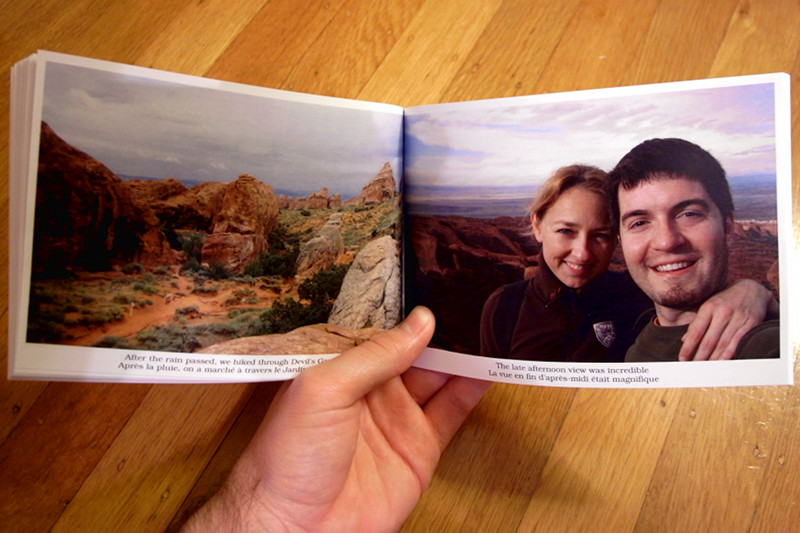
What I wanted was simple. One horizontal photo to a page or two vertical photos to a page, with just enough space at the bottom for two lines of text (English and French captions) and small margins around the edges to maximize the photo size. I started thinking maybe I could write a little PHP program to generate the PDF to my specs. How hard could that be?
Well the hardest thing was deciding on a PDF library to use. PDFlib is the most full-featured and up-to-date, yay for proprietary software, but on the other hand I couldn’t just apt-get install it. In fact, no matter what I tried, I couldn’t compile and install the trial/free version at all. What a waste of time. Boo for proprietary software.
But it’s not like I needed anything fancy. Just multiple pages, photos, and two lines of text. So I turned to FPDF and never looked back. I think it took less than an hour to go from zero experience to a proof of concept photo book generator. In fact I was progressing so fast that I stayed up till 2am one night to get the whole thing done. That’s just the best feeling in the world.
It took another day to polish the code, proofread the captions (in two languages), design a cover (Stephanie used Picasa), and suddenly we were done. I uploaded the 160MB PDF (74 pages, 99 photos), ordered a bunch of copies, and couldn’t wait till they arrived.


