Panorama Tools
Whoa, I just got lost in the world of panorama photo stitching tonight. In fact I had no idea until reading the comments to Andrew Emond’s Raider of the Lost Ark photo a month ago that software even existed to automate the process—let alone that photographers used it (isn’t that kind of cheating?) to create wide-angle compositions.
The app that Andrew used is called PTGui, where all you have to do is select a series of photos, and it analyzes them and constructs a panorama for you! No more painful hours trying to stitch together photos in Fireworks. The results are miraculous.

There is a downside though. PTGui is not free (or open source) software. In fact it’s actually a little pricey, a little over $90. If it had been like $30 or less, that would have been a no-brainer, and I probably wouldn’t have thought twice after seeing PTGui’s trial version in action. But $90 motivates a little more due diligence. At least in the form of a Google search.
And I turned up a whole wealth of information. The panorama tools wiki is a good starting place. Here’s some interesting history:
The Panorama Tools, also known as The PanoTools are a free suite of programs and libraries originally written by the german physics and mathematics professor Helmut Dersch. PanoTools provides a powerful framework for re-projecting and blending multiple source images into immersive panoramics of many types. Helmut started development on PanoTools in 1998, producing some of the most professional and versatile software available for building panoramas and more, but had to stop development in 2001 due to legal harrassment and claims of patent infringement by a company called IPIX.
I also discovered that PTGui used to be just a frontend for the open source Panorama Tools, but in later versions they replaced them with their own proprietary photostitching and blending software. On the open source front there’s Hugin, which operates very similarly to PTGui, with the exception of needing to download the separate autopano utility and only being able to output blended panoramas as tiff files. Nonetheless after a little bit of fiddling I was quite pleased with the results.
Here’s an arty panorama I created by hand from pictures taken at Yosemite:
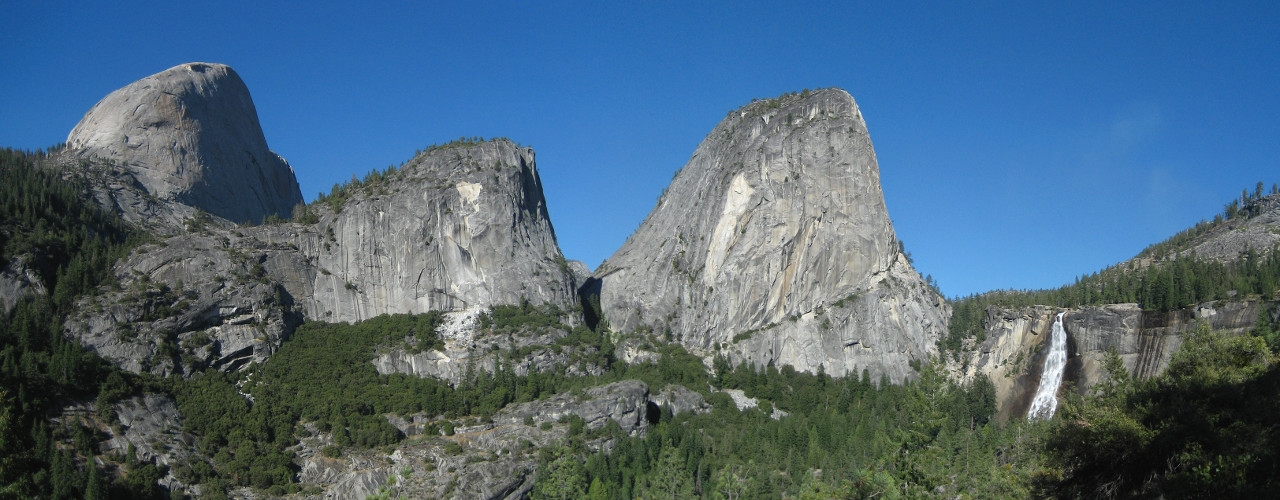
Yosemite Panorama (created by hand)
And here’s a version created with Hugin (the only post-processing I did with Fireworks was cropping, resizing, and color-correction):
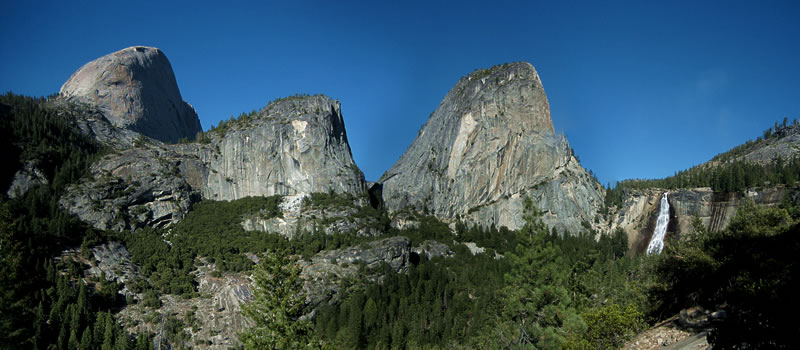
Yosemite Panorama (created by Hugin and cropped)
And finally, what got me started down this path were some photos I took of a very low Lake Kaweah just outside of Sequoia National Park. You can see the line along the hills where the water should be (or where it will be when the snow melts).
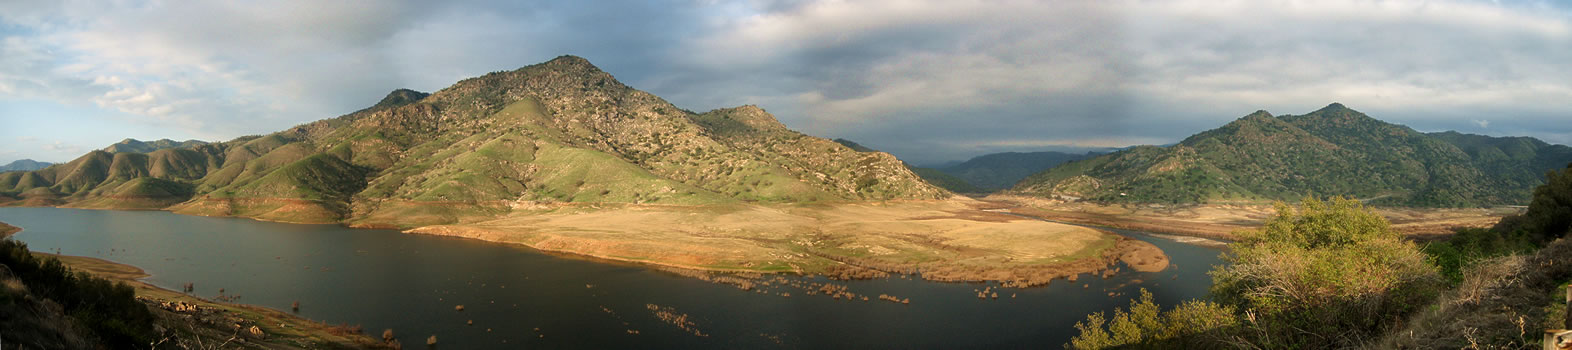
Lake Kaweak Panorama (also created by Hugin)
I still have to figure out how to improve the blending between images to minimize the dark band effect, but all in all, I’m pretty pleased with the results.
For what it’s worth, you might try to use a manual setting for exposure, without changing anything.
For years, photographers have used the “sunny 16” rule, which says on a sunny day, use f16 with a shutter speed equal to the speed of the film or digital rating if using a digital camera. That way, there should be less variation in the sky where the variations are the easiest to notice. I just started with PTGui and I’m having a blast!